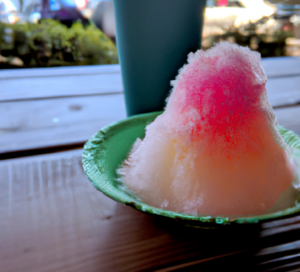
If you’ve ever been to Hawaii, you’ve surely noticed that shave ice stands are everywhere. They pile up scoops of frosty, cool snow and pour flavored syrups over the top. The glory of this dessert comes from a drizzle of sweetened condensed milk poured over the top, commonly known as a “snow cap”. You can add a scoop of ice cream on the bottom if you wish. Along with the standard vanilla, you’ll often find tropical flavors like coconut, macadamia nut, and pineapple ice cream.
Hawaiian shave ice is one of the most popular frosty desserts in the world. Even though it’s only been popular for about 100 years or so, it has quickly become synonymous with Hawaiian culture itself. When most people think of Hawaii the first things that spring to mind are flower leis, beautiful beaches, volcanoes, tiki torches, and of course, Disney’s Moana movie – I mean shave ice.
Not Headed to Hawaii Any Time Soon?
Don’t worry! You can make your very own shave ice at home in just a few steps in a truly professional way and without making a sticky mess. We are here to share some tips and tricks with you, so the next time you’re setting up a backyard luau party, you’ll look like a true shave ice pro.
First, you don’t have to have a $2,000 commercial grade shaved ice machine to make Hawaiian shave ice. There are so many inexpensive shave ice machines available that you can get an excellent machine for less than $50. Granted, you won’t get quite the same soft-as-a-cloud shave ice like you will with a commerical machine, but you’ll get very close . After a lot of research, we’ve compiled a list of the top shave ice machines we recommend for home. If you’re in a rush, we think this one’s the best value for the money. Our family uses it all the time.
Make Hawaiian Shave Ice in Six easy steps
[dropcap]1[/dropcap] First, make sure you’ve got ice that is the proper type and size for the machine you intend to use. Block shavers will need a block frozen in a specific size and usually those machines will come with molds to freeze the ice in. If you have a cube ice shaver, the size of the ice is less important. Since ice is the main ingredient here, it’s very important to use the highest quality purified water you can to make your ice. Although making ice is something everyone should know how to do, it’s super important to get this step right. We have an article on making ice for shave ice if you’d like to learn more. It’s important to plan ahead, because freezing the ice can sometimes take more than 24 hours. [dropcap]2[/dropcap] You shouldn’t use the ice directly out of a freezer. If you do, it will make a powder, dull your blade, and also clog your machine. Instead, you first have to “temper” the ice. This just means taking it out of the freezer about 15 minutes before you plan to use it so that it warms up slightly and begins to melt slightly or sweat. Once it’s tempered you can put your ice in staging area like a picnic cooler in order to maintain optimal ice temperature of approximately 28 degrees fahrenheit. [dropcap]3[/dropcap] Next, select a bowl or other container to serve the shave ice in. For the serving container it’s best to use wider container, which will give you more surface to flavor and make it easier to get the ice into the container. A very popular option for Hawaiian shave ice is to place a scoop of vanilla ice cream or macadamia nut ice cream at the bottom of the container. If you’re planning to do this, add the ice cream before you begin shaving the ice. At this same stage, some popular shave ice shops like Matsumoto Shave Ice also add sweet azuki beans. We have a recipe for how to make sweetened beans for shave ice here. [dropcap]4[/dropcap] Put the ice into the ice shaver and start shaving! When setting up your machine, it’s important to adjust the blade to the right position to make sure you get the best ice texture. Ideally, shave ice should be soft and fluffy and not chunky and crunchy. If the blade is protruding too far you will tend to get very crunchy ice like you find in a snow cone. Similarly, if the blade is not sticking out far enough the ice also will not be the correct texture and will take a very long time to shave. It will take some trial and error trying different blade heights before you get it just right. You can do this! [dropcap]5[/dropcap] As you shave, slowly rotate the cup or container and guide the snow into the cup with your hand (food service gloves can be helpful for the cold and to keep things clean). As you rotate you are shaping the snow until you reach the size you want. When shaping the ice into the bowl, try not to squeeze the air out of it entirely because that will make snow cone type of serving. Some people use a funnel or a spoon to shape the top of the snow, and this can be a good option as long as you’re careful not to squeeze all the air out.The ice shouldn’t be extremely compacted. It should be packed lightly in the cup so that it doesn’t take too much space and leave it rather airy.
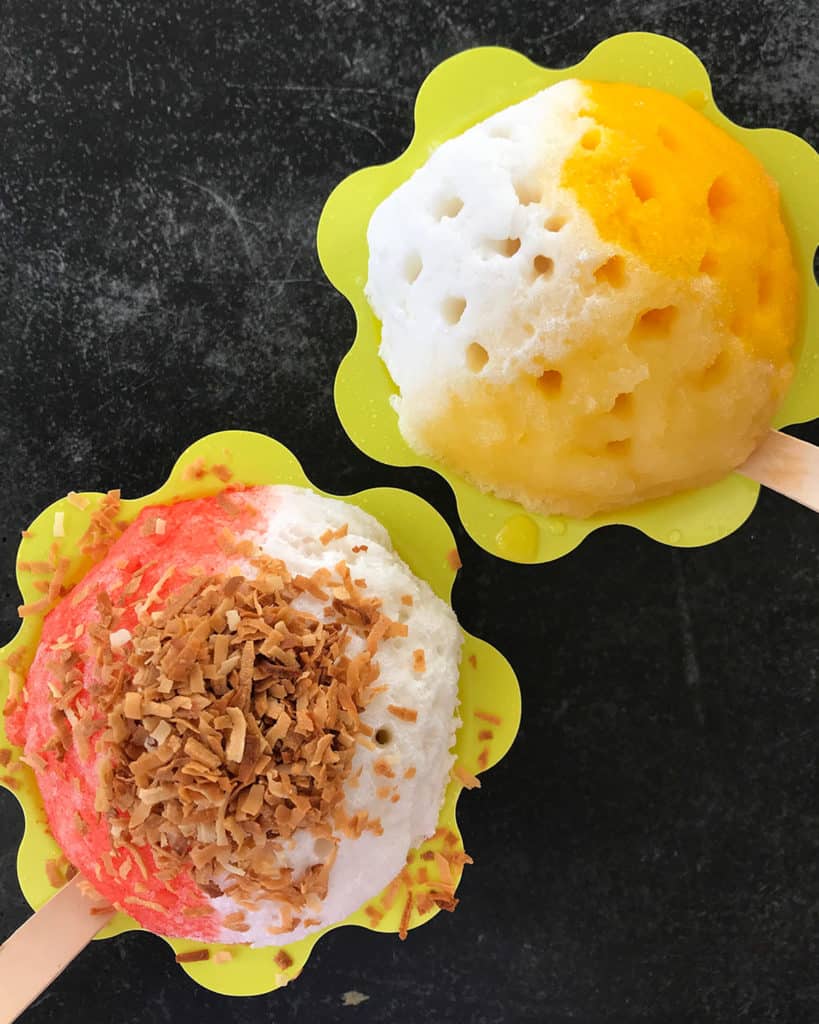
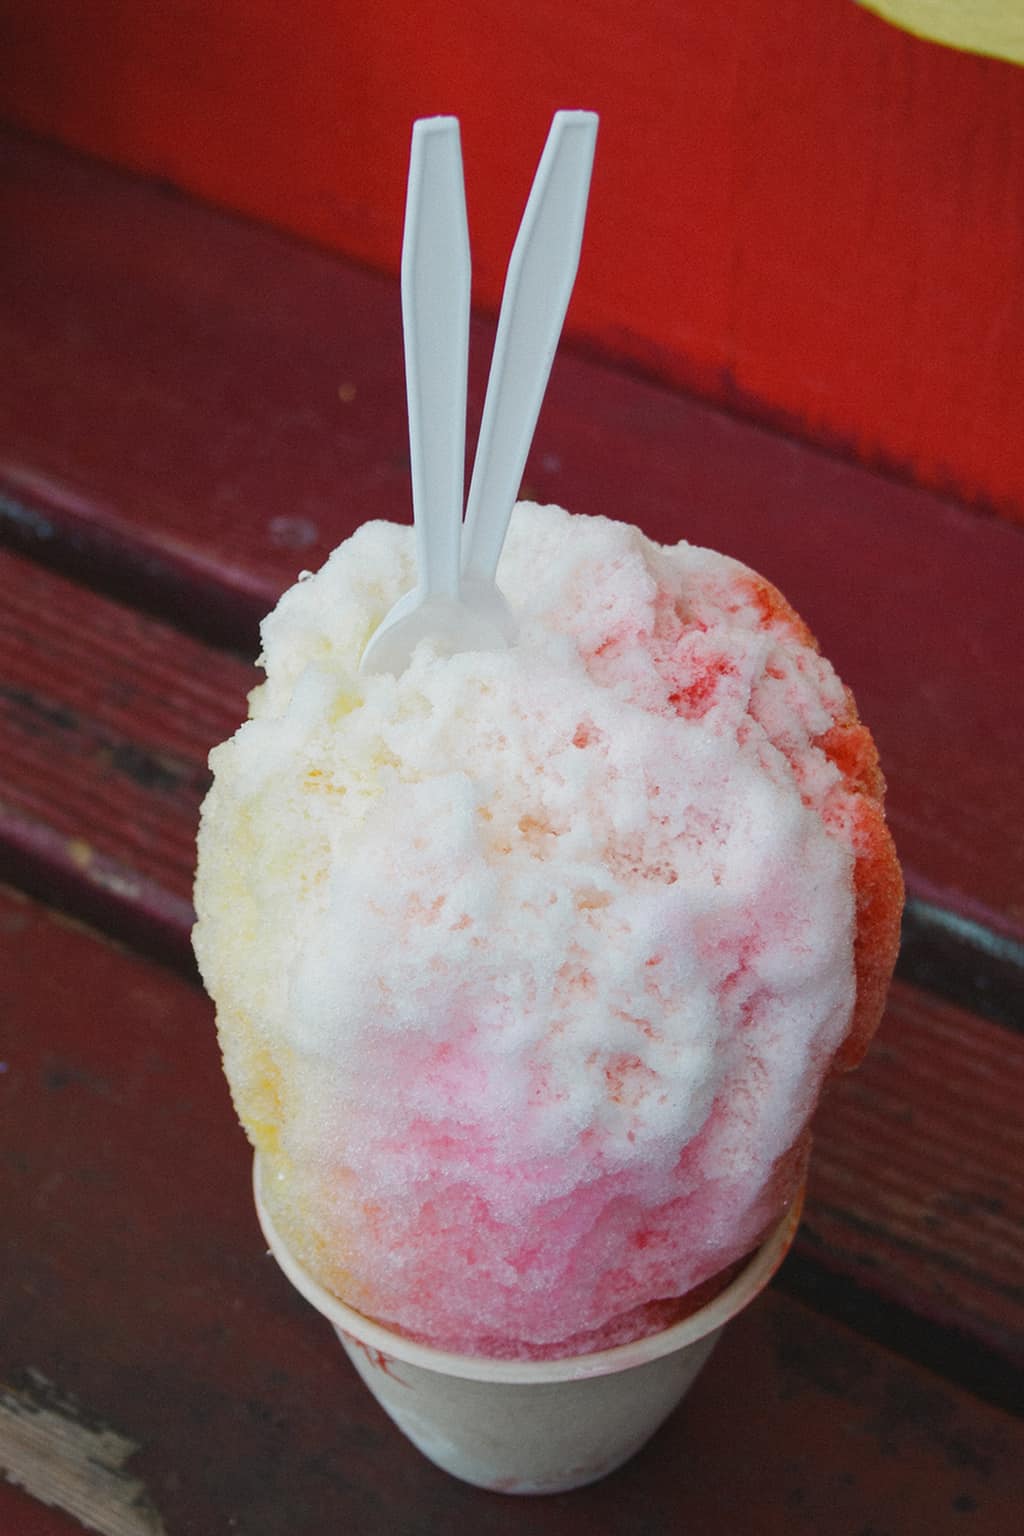
[dropcap]6[/dropcap] Once you have the ice into a nice shape, it’s time for the flavoring! A trick that many Hawiian shave ice shops do at this stage is to punch holes deep into the ice with a skewer or other solid stick (see photo above). This will help the flavors to penetrate all the way into the ice. When it comes to flavoring, start on the sides and rotate upwards to the top. It takes a little practice to make sure you are getting enough flavoring. Perfect shave ice is when the snow has flavor throughout the serving but not a puddle at the bottom. Hold the pour bottle by the neck which will allow you more control than if you hold it by the barrel.For the flavors, you can make your own syrups, which involves making a simple syrup (sugar + water) and then adding concentrated flavor or fruits. We’ve have lots of great syrup recipes here on our site you can try. If you need shave ice in your belly as quickly as possible though, you can also buy delicious ready-to-use shave ice syrups. Pour flavored syrup generously and drizzle with some sweetened condensed milk, if desired. At this stage you can also add toppings such as fresh fruit, toasted coconut, or even more unusual things like gummi bears. Check out our ultimate shave ice topping guide for more ideas.
[callout type=”center” title=”Want a shave ice machine?” message=”Check out our 100% free buying guide to see which one is right for you. ” button_text=”Let’s Go” href=”https://happyshaveice.com/best-shave-ice-machines-for-home/”]
Wrapping Up
There you have it! It took just six easy steps to make some of the most special shaved ice you’ve ever had – and you didn’t even have to go all the way to Hawaii! We invite you to try your hand at Hawaiian shave ice making today and discover why this delicious frosty treat has been capturing the hearts and taste buds of kids and adults everywhere.