After a whole day of walking under the blazing heat of the sun, you find yourself sitting at the couch, drained and exhausted. Then, it hits you! All you need is a sweet, mouth-watering snow cone or shaved ice dessert and you’d be sitting pretty.
But alas, you realize that you don’t have a machine to do all the work for you. Fear not, dear reader. Your dessert craving doesn’t have to go unfulfilled. After all, our wise ancestors were able to ignite fire on their own, so shaving ice is definitely something you can handle.
Ready to create something cold and refreshing without a blender or shave ice machine? With a few easy to find tools and some ice-crushing persistence that can make yourself a cool ice-based treat!
Read on as we show 6 ways to make shave ice or snow cones without a machine.
Method 1: The Pound and Crush Technique
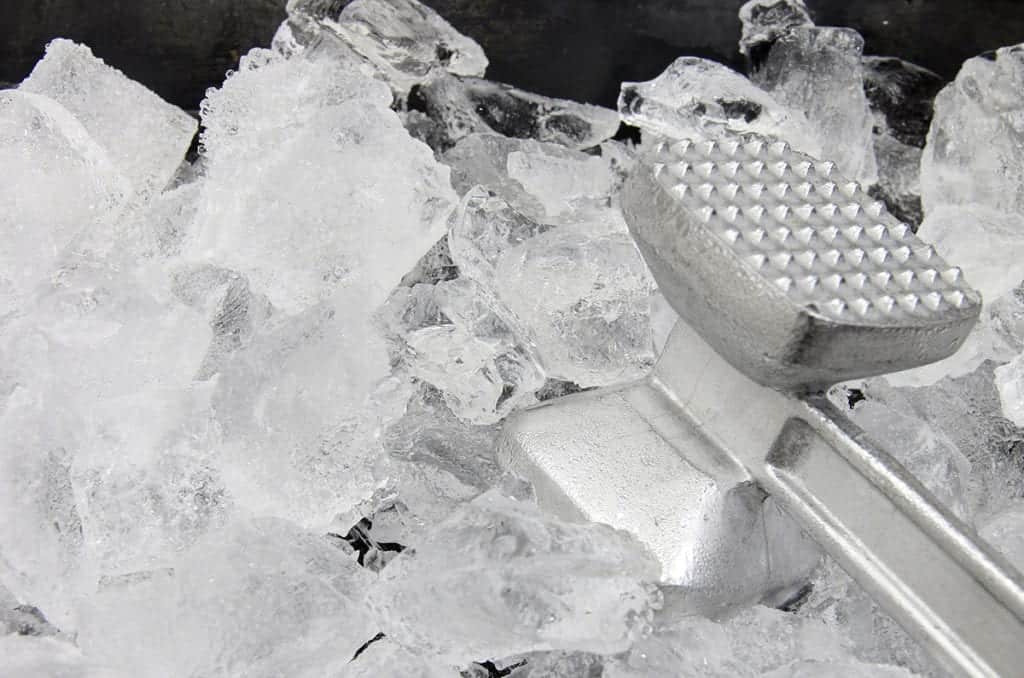
We get it–shaving ice without a machine seems like a LOT of work, but it doesn’t really have to be a complex process. The first technique, which we’ll call the pound-and-crush technique, is the simplest way to create a refreshing ice dessert from scratch.
What You’ll Need:
- A water-tight ziplock bag
- A rolling pin or a mallet
- Water
Steps:
- Fill around ¼ of the ziplock with water (or flavored water) and tightly seal the bag before letting it freeze in the fridge. Make sure that the bag is laying flat on the surface. Once frozen, the ice’s flat shape can make the crushing process easier.
- Once the ice is ready, pound and crush the ice with the use of a rolling pin, a mallet or any hard kitchen tool that you can use for pounding.
- Pound the ice continuously until you get your desired texture and consistency.
- Afterwards, mound the ice in a bowl and add syrup, condensed milk or other flavorings and toppings.
Pros: Aside from simply pounding ice with kitchen tools that you can readily find in your home, this technique also serves as a great stress-reliever. Just imagine having all the freedom to pound all your stress away, and you’ll get what we mean. Plus, this technique is the easiest way to create a great base for your shaved ice dessert.
Cons: The texture and consistency of the ice would greatly depend on how you crush the ice with the tools you use. Unlike using professional ice shavers, you can’t really reach that level of smoothness that kakigori–a Japanese shaved ice variant–is most known for.
Method 2: Slice and Crush
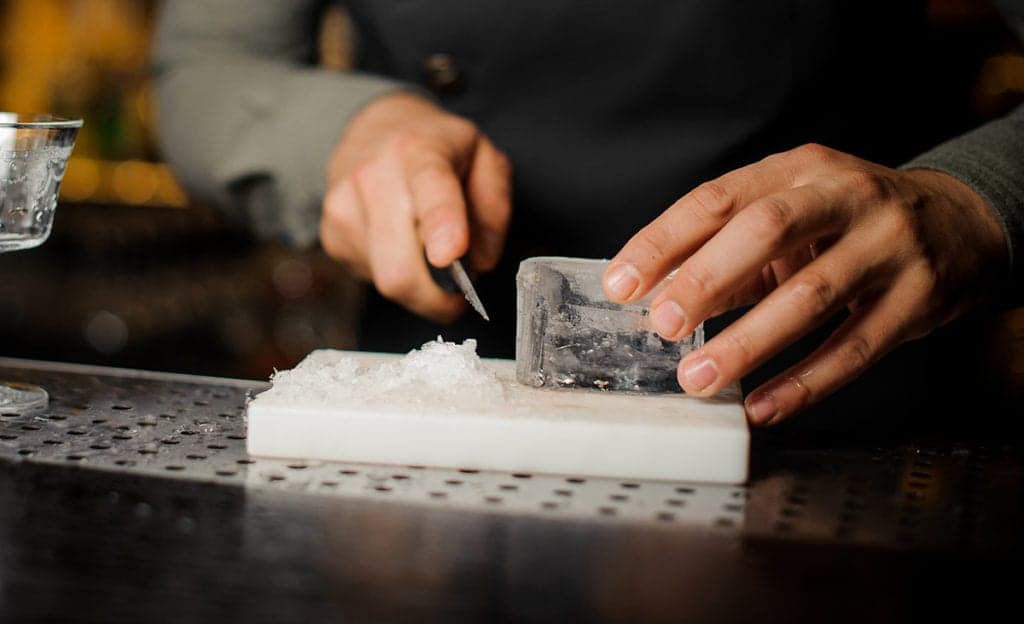
Ever thought a knife can teach you ways on how to make shave ice without a machine? A knife is mostly used for chopping and cutting, but its applications are not limited there. With a sharp knife at hand, you can forego expensive kitchen device that is commonly used for shaving ice.
What You’ll Need
- A sharp knife (or a samurai sword if you have one)
- An ice mold or a square container
- A clean cloth
- A cloth glove or, ideally, a protective chain glove
- Water
Steps:
- You first need to create a block of ice by filling a square container or an ice mold with water and placing it in the freezer.
- After several hours, remove the ice from the freezer and let it thaw for about 6 to 10 minutes. This step is critical in making the ice easier to scrape.
- While waiting for the ice to thaw, prepare your knife, your gloves, and your cloth. If the knife’s blade is dull, use this time to sharpen it for the ice scraping process.
- The thawed ice should then be placed under a clean cloth to prevent sliding. Always use a hand glove when handling ice to prevent ice burns.
- Once the ice is in place, thoroughly slice the ice in quick, repetitive motions. Just be more cautious since the ice can easily slide.
- After scraping your desired amount of ice, place it in a bowl and add syrup and toppings.
Pros: This DIY ice shaving technique is the most inexpensive way to create a homemade dessert, and the consistency and texture are better as compared to pounding ice using a mallet.
Cons: For one, this method is not advisable for kids and for those who have zero experience in handling sharp knives, especially since the ice can slip and cause an injury. Also, unlike pounding ice, slicing ice rigorously can be a daunting experience. But hey, if you’re up for it, go for the golden ice! Just wear your gloves and be extra careful.
Here’s a video demonstration:
Method 3: Fork Your Way to a Sumptuous Dessert
If you’re afraid of using sharp knives and your mallet is nowhere to be seen, this technique is definitely good news for you. This method is similar to the second approach, but instead of using a knife, you just need a fork with sharp teeth to do all the ice scraping for you. Just give your ice time to thaw so you can maximize this ice shaving technique.
Pros: If there’s anything great about using a fork, it’s that it’s definitely safer than using a sharp knife with a blade that can cut. Plus, forks are a staple household tool, so it’s quite impossible for you not to find one that you can readily use.
Cons: You don’t have to give this process a go to realize how time-consuming it can be. As compared to the other techniques on our list, using a fork can really take a lot of effort and patience.
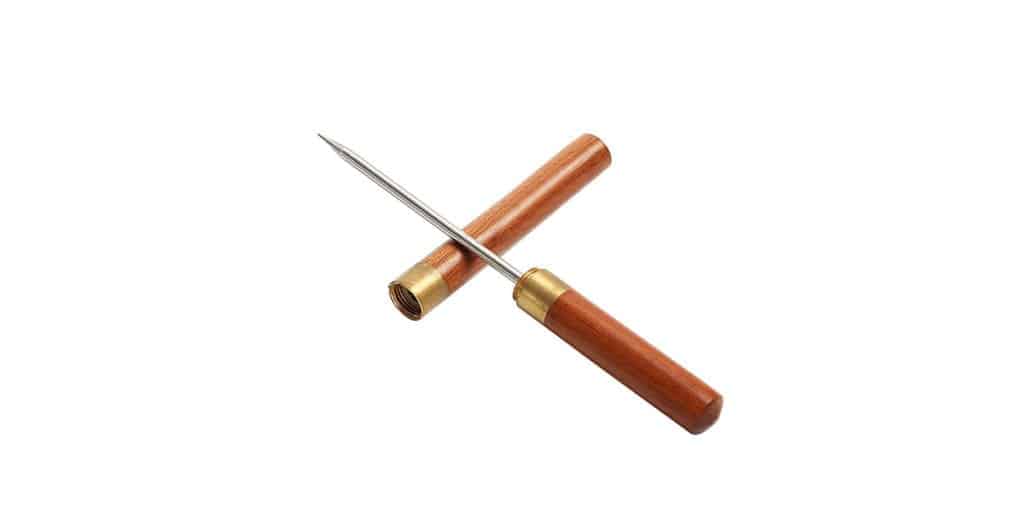
Method 4: Use An Ice Pick (Or In a Pinch, A Screwdriver)
Have an old ice pick or maybe a flat head screwdriver? You can TOTALLY use that to chip some ice!
The drawback to this option though, is it’s going to produce very big chunks. If you want finer crushed ice you may prefer to start with this method and then smash the ice further in a plastic bag with a mallet or rolling pin (like step 1).
Also this is fairly dangerous, so please be careful! And obviously, this isn’t a good idea if you’re drunk or otherwise buzzed.
What You’ll Need:
- An ice pick or clean flat head screwdriver
- A large ice mold or plastic bag to freeze the water in
- A clean cloth
- A protective hand glove (optional but highly recommended)
- Water
Steps:
- Freeze water in a large bucket or mold
- Remove frozen block from mold and place on a solid surface on top of a clean towel (to minimize slipping.
- Carefully chip the ice block and retain the chips into a bowl or cup
- (Optional) Put the chips into a zip lock back and crush them further with a hammer
Pros: Cheap, and possibly something you already have in the house.
Cons: Tricky to get the hang of. Ice chunks will be very irregular in size.
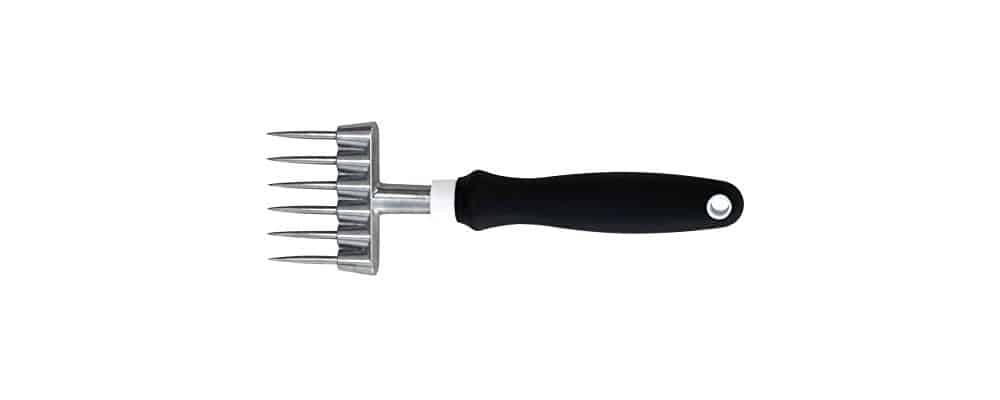
Method 5: Use An Ice Chipper
Like ice picks, ice chippers are another great option for chipping up big blocks of ice.
We’ve researched a LOT of different ice picks, so trust us when we say this is the one to get. And if you don’t trust us, just read the reviews.
This chipper has great weight in the hand and an excellent molded rubber grip. This should make for a well made and durable tool. Apparently, these are also great for breaking up frozen fruit for smoothies!
What You’ll Need:
- An Ice Chipper
- A large ice mold or plastic bag to freeze the water in
- A clean cloth
- Protective hand glove (optional but again, highly recommended)
- Water to freeze
Steps:
- Freeze water in a large bucket or mold
- Remove frozen block from mold and place on a solid surface on top of a clean towel (to minimize slipping.
- Carefully chip the ice block and retain the chips into a bowl or cup
- (Optional) Put the chips into a zip lock back and crush them further with a hammer
Pros: Cheap, and possibly something you already have in the house.
Cons: Tricky to get the hang of. Ice chunks will be very irregular in size.
Method 6: Shave It Manually With An Ice Shaver
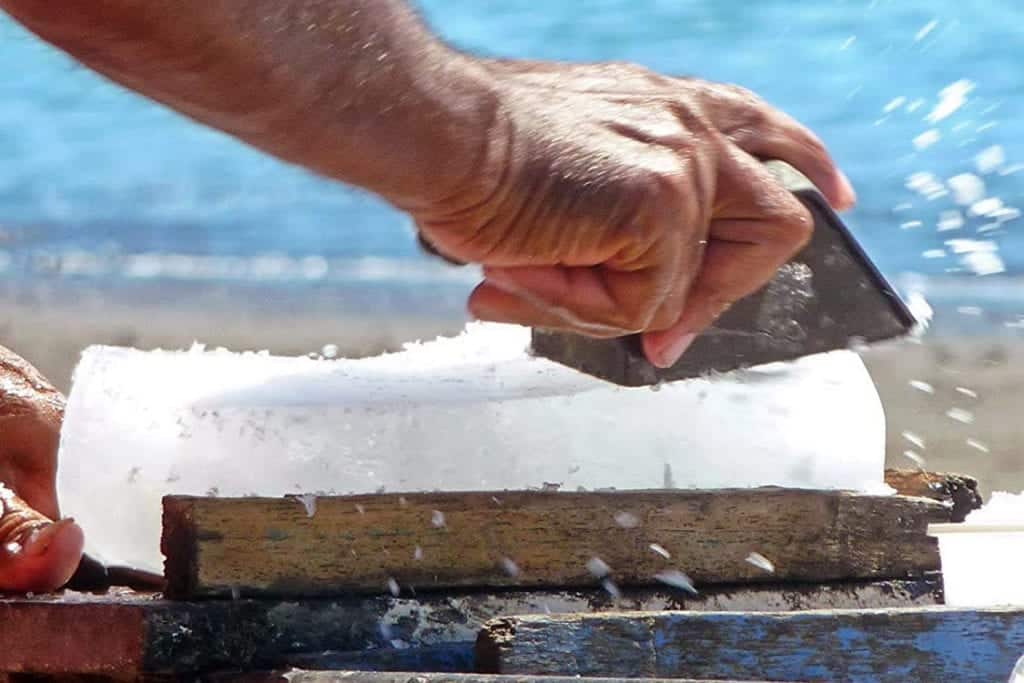
With the rise of affordable electric ice shaving machines, manual ice shavers are not commonly seen in peoples kitchens as much as they used to be. But that doesn’t mean that these tool aren’t a great, travel-friendly option when it comes to shaving ice from scratch.
Granted, not everybody has one of these in their house, but If you do it’s totally usable. If not, they can be found very inexpensively on Amazon. This is the one we bought and we love it. It’s cast from solid aluminum, so it’ll never rust.
For more info on using a manual ice shaver, maintaining them, and a list of our favorites, check out this post.
What You’ll Need:
- A manual ice shaver (we have and love this one)
- A large ice mold
- A clean cloth
- A hand glove (optional)
- Water
Steps:
- This method basically offers you the fastest and the most efficient way to make shave ice dessert at home. Like in other methods, you first need to freeze water, but this time, you have to use a large container so you can easily shave more ice.
- Once the ice block is ready, let it thaw for around 6 to 10 minutes.
- Secure the ice in a tight container or place it under a clean cloth to prevent it from sliding. Again, use a hand glove when handling ice.
- Position the ice shaver at the top of the ice block while holding the ice in place.
- Push the shaver away from you scraping it on the ice. Repeat this step until the ice shaver’s compartment is full. If you need more shaved ice, empty the compartment and continue running through the ice in a similar motion.
- Finally, mold the ice on a bowl and add the ingredients of your choice.
Pros: They’re affordable, easy to transport, and don’t require any electricity to use them. You can even bring it to the beach!
Cons: You may find you have to sharpen the blade and adjust it a bit to get them shaving ice just right. Also, they do take a little bit of practice to get the hang of.
Go Forth And Crush It!
With all these methods at hand, it’s easy to create a delicious ice-based desserts right from the comfort of your own home. While each technique varies in terms of pricing, result, and efficiency, they all serve a great way to indulge in a bowl of cool, icy dessert with your loved ones.


